
Building the “Rantaberi” guitar.
Part One: Making the neck.
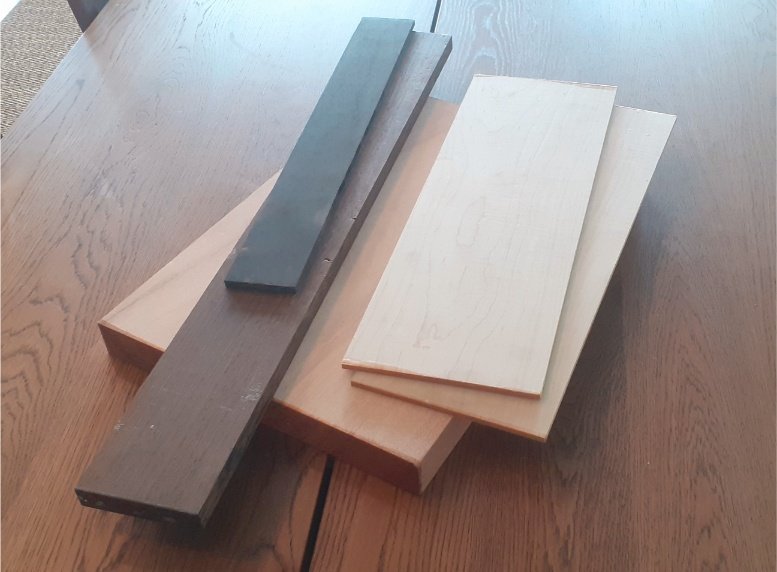
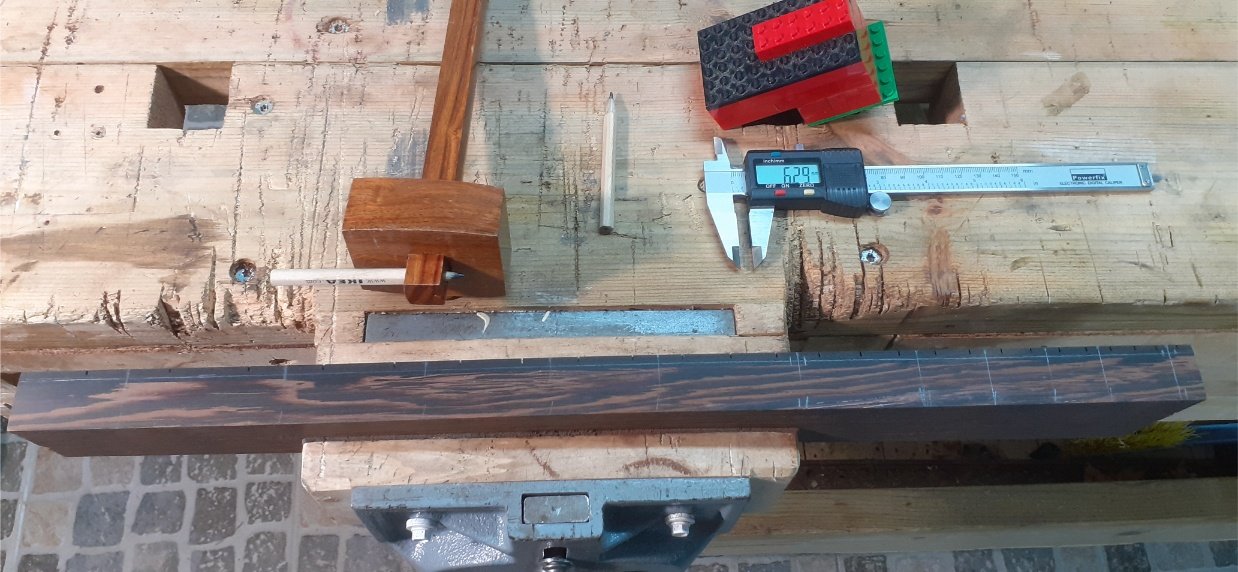
Where it all started. A lump of mahogany, a length of wenge, a strip of ebony, and two boards of maple.
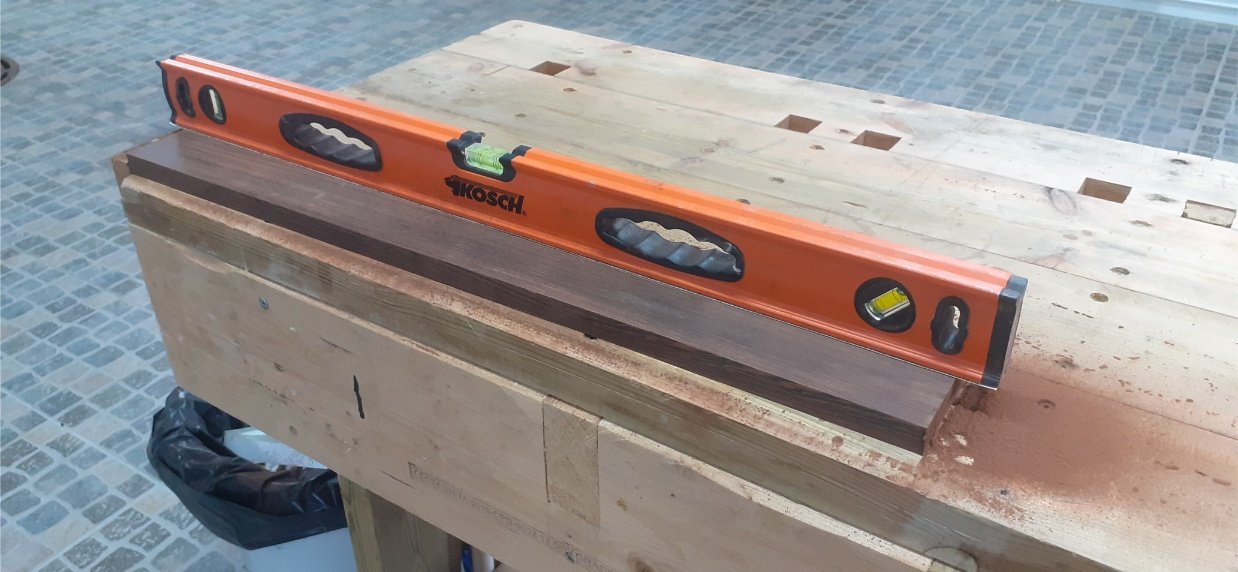
Sandpaper glued to a spirit level to flatten the neck blank.
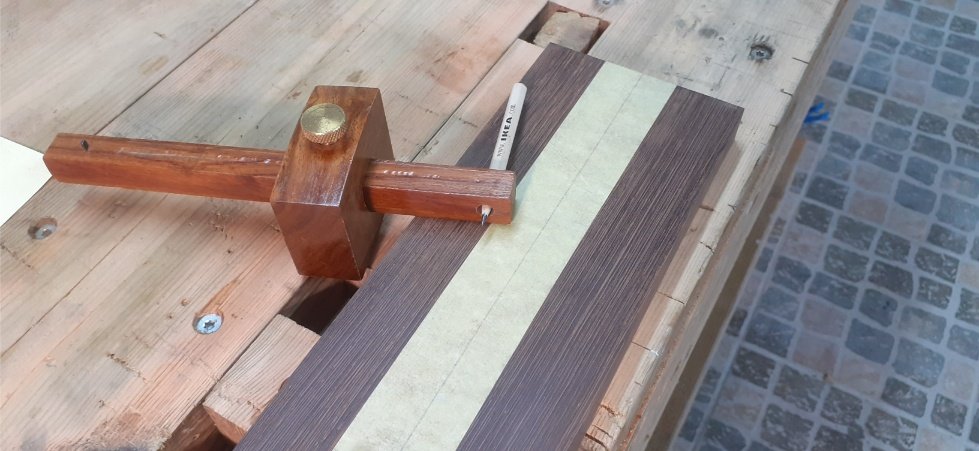
Marking the centre-line of the neck.

Routing the channel for the truss rod along the centre-line.
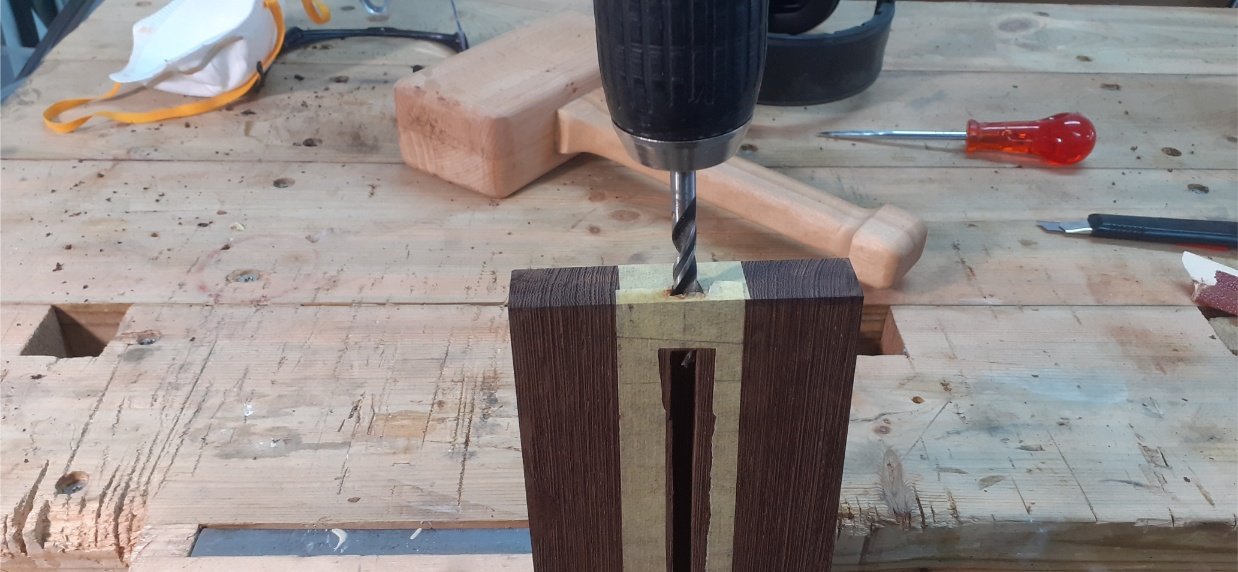
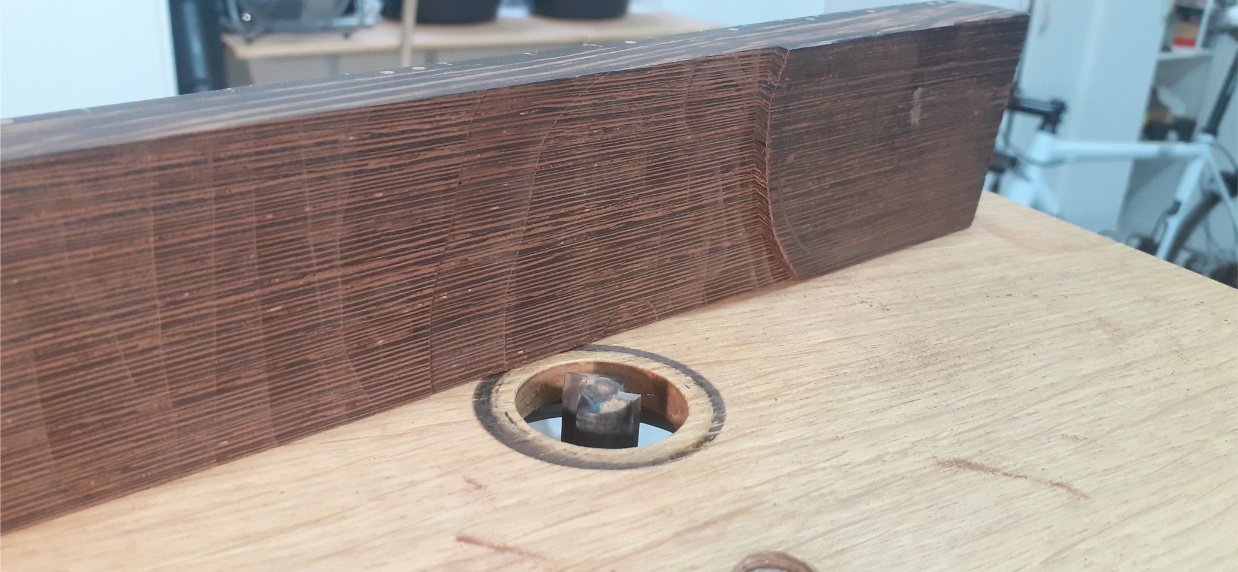
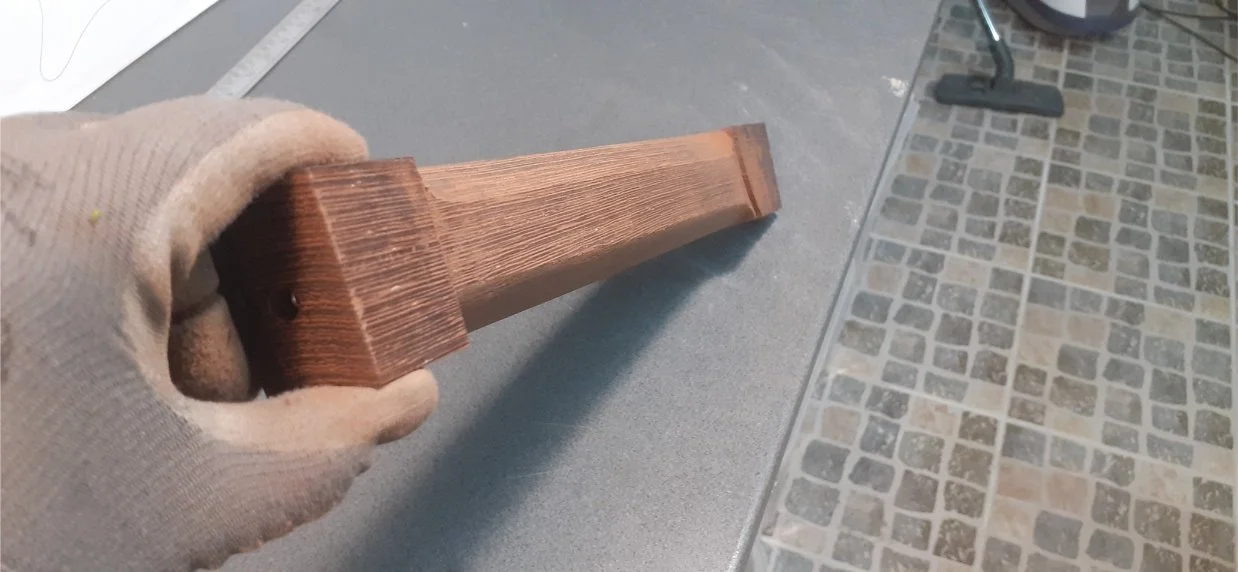
Drilling out the end of the neck, to access the truss-rod adjustment nut.
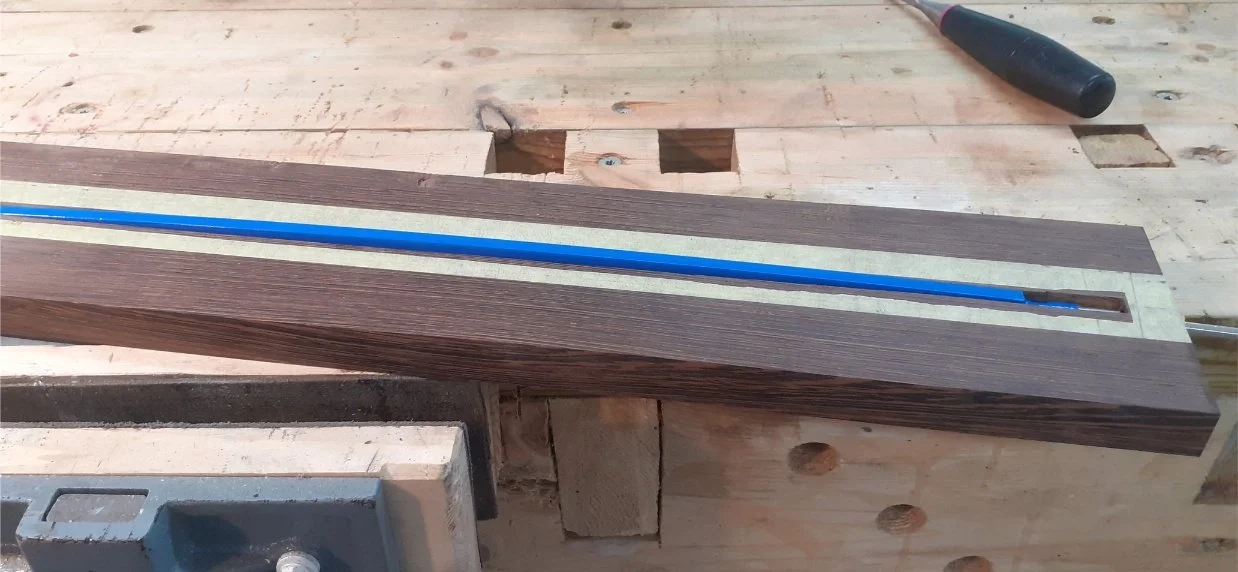
Test fit of the truss rod. I added some tension to check it was bending the right way.
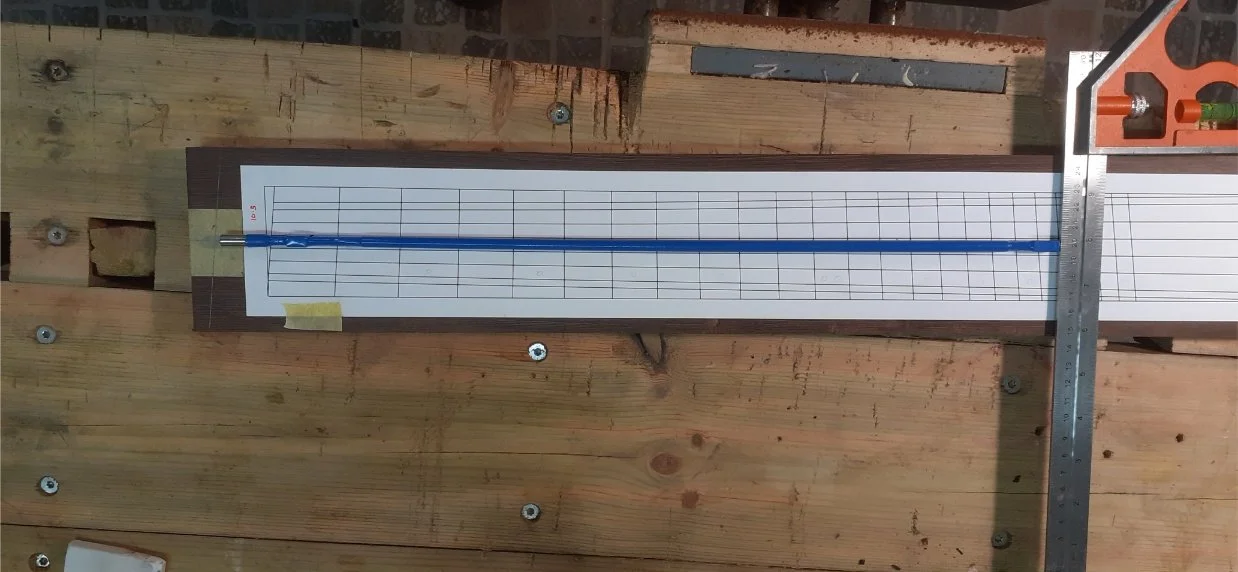
I found website which would calculate the exact positions of the nut, frets and fingerboard dimensions according to the scale lengths, string spacing and parallel fret position I wanted. This also told me the angle the bridge needed to be. I had this printed, and glued it to the fingerbaord blank. This was invaluable. I then scored the outline and positions of the nut and frets with a marking knife. Click the image for a link to the fret calculation site.
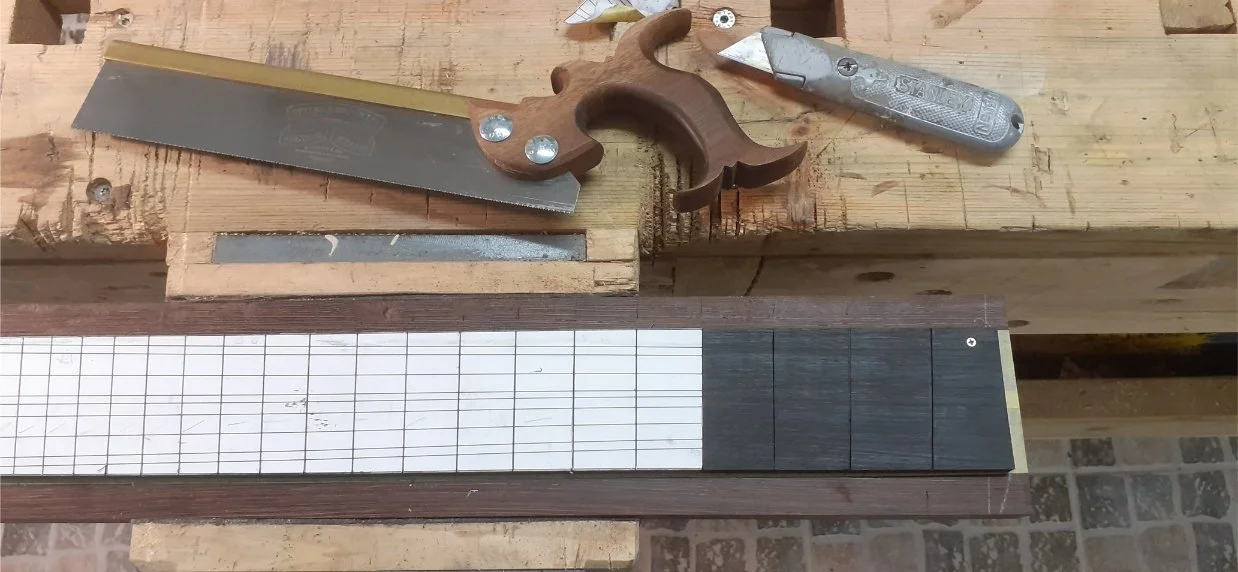
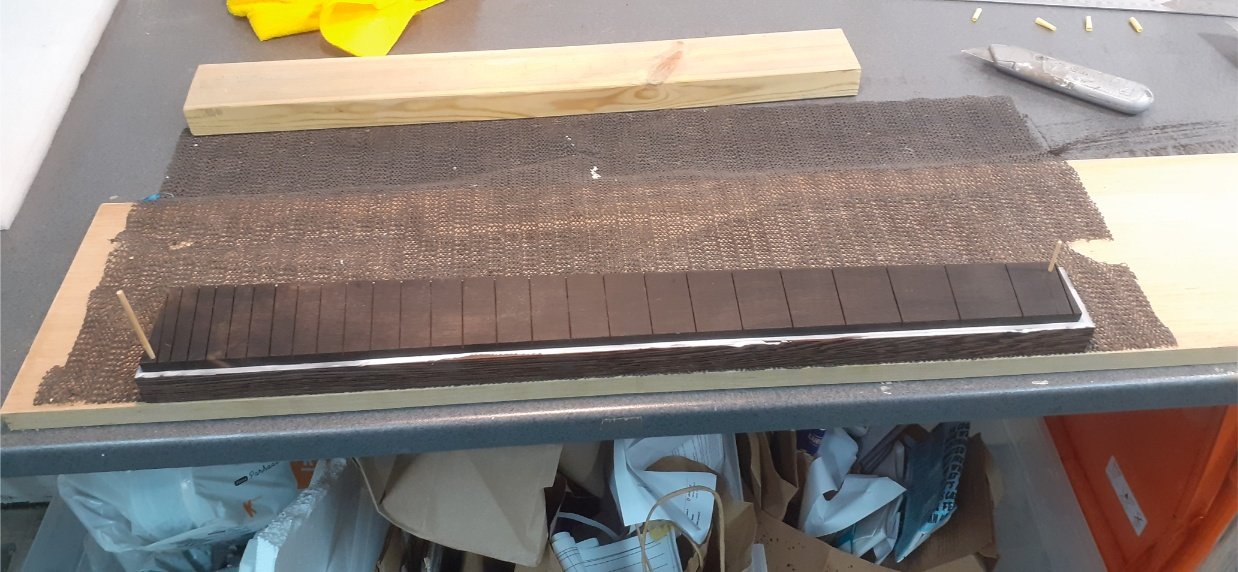
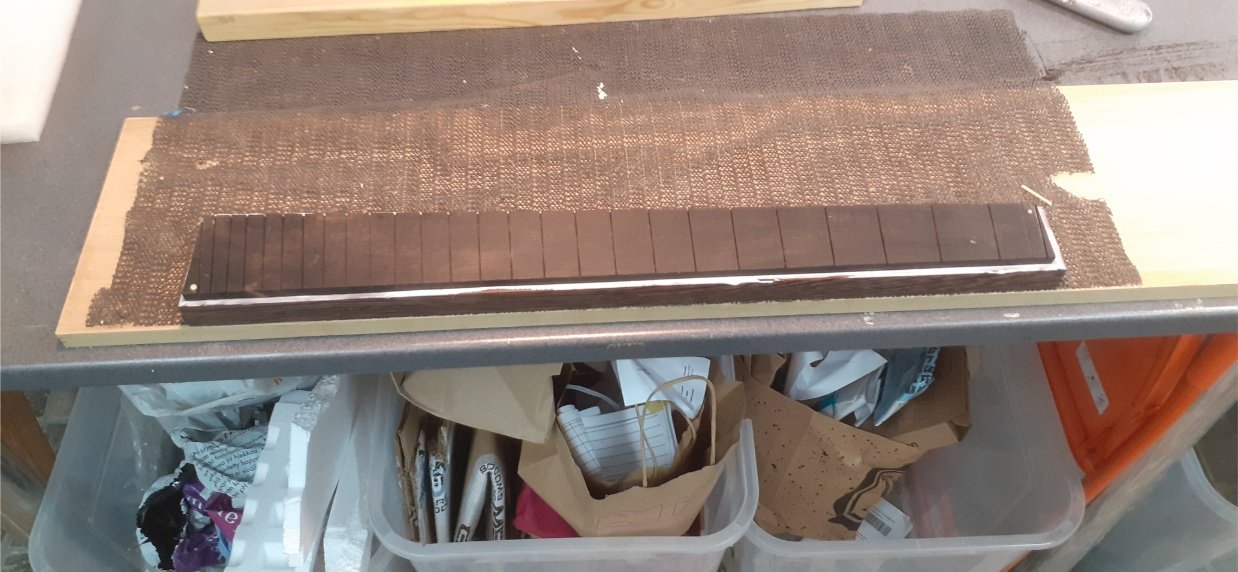
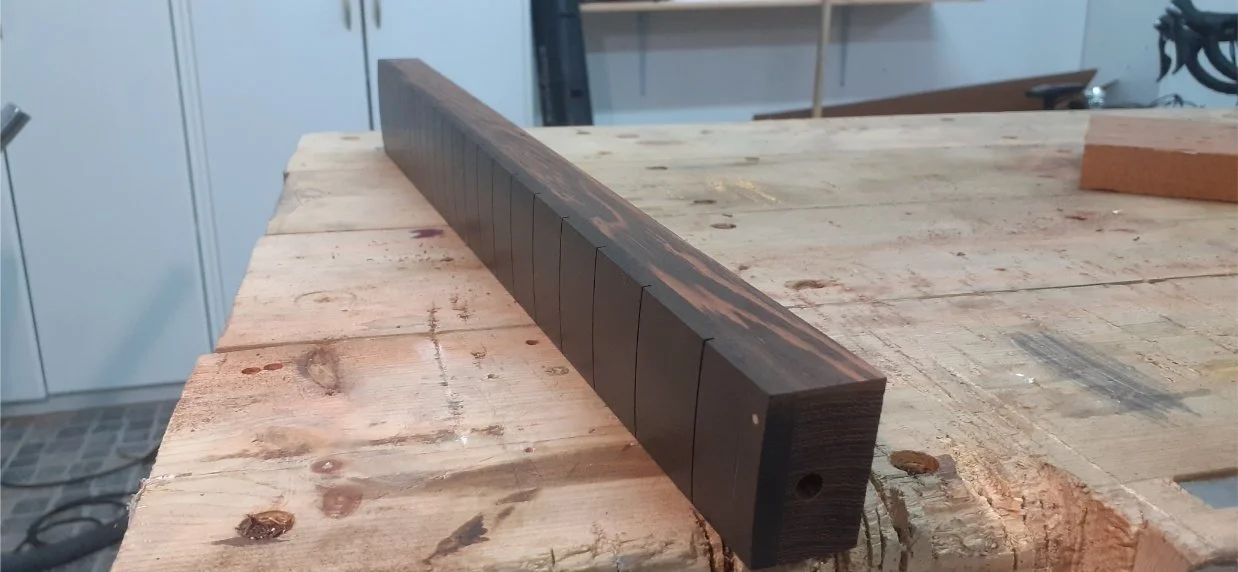
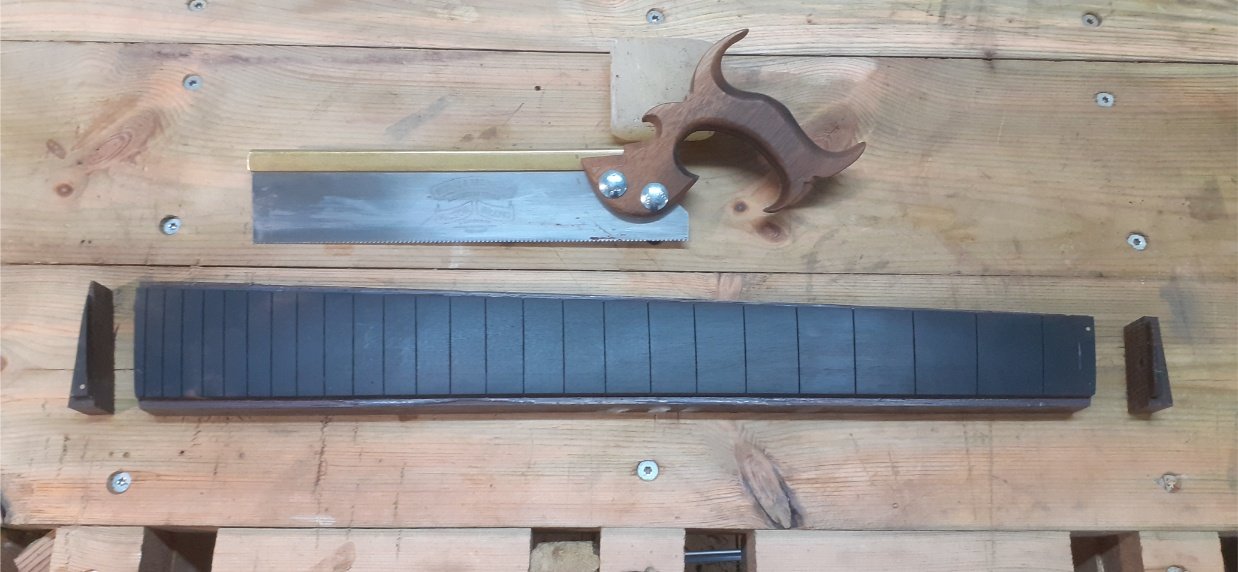
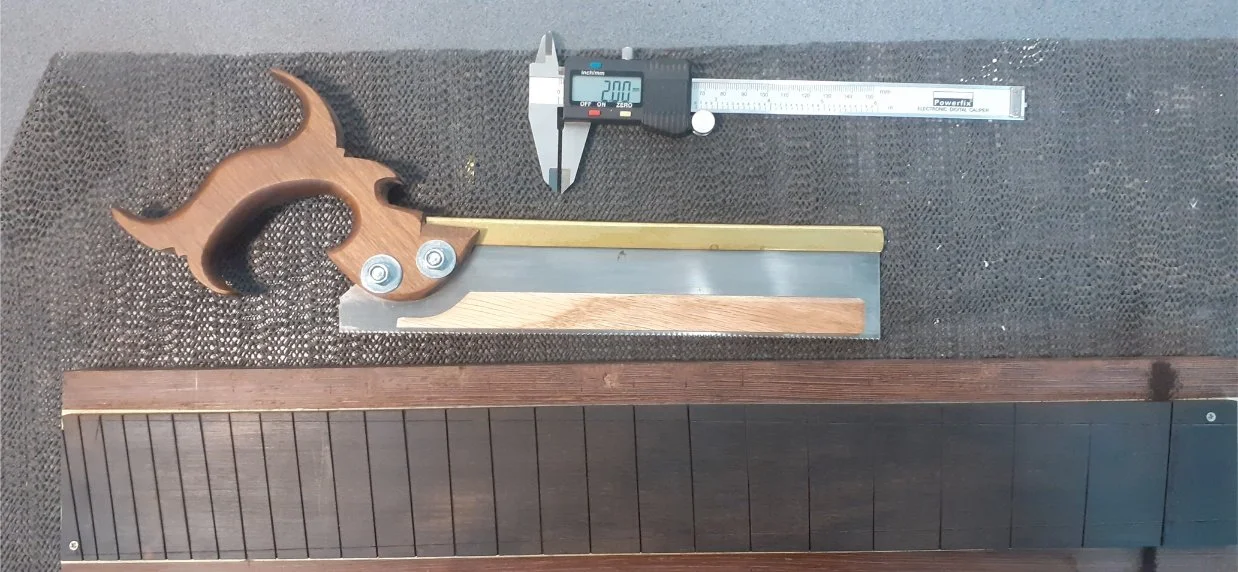
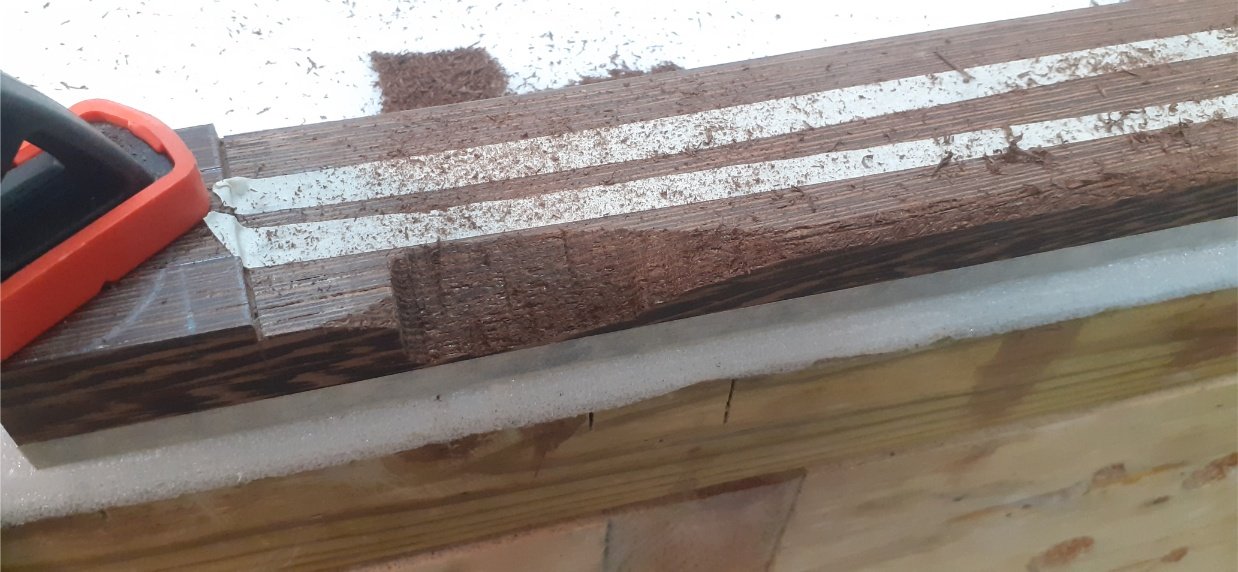
The fret slots were cut with a dovetail saw. This was an inital cut to set the positions of the frets. The final depth of the fret slots was done later, after the fingerboard had been radiused.
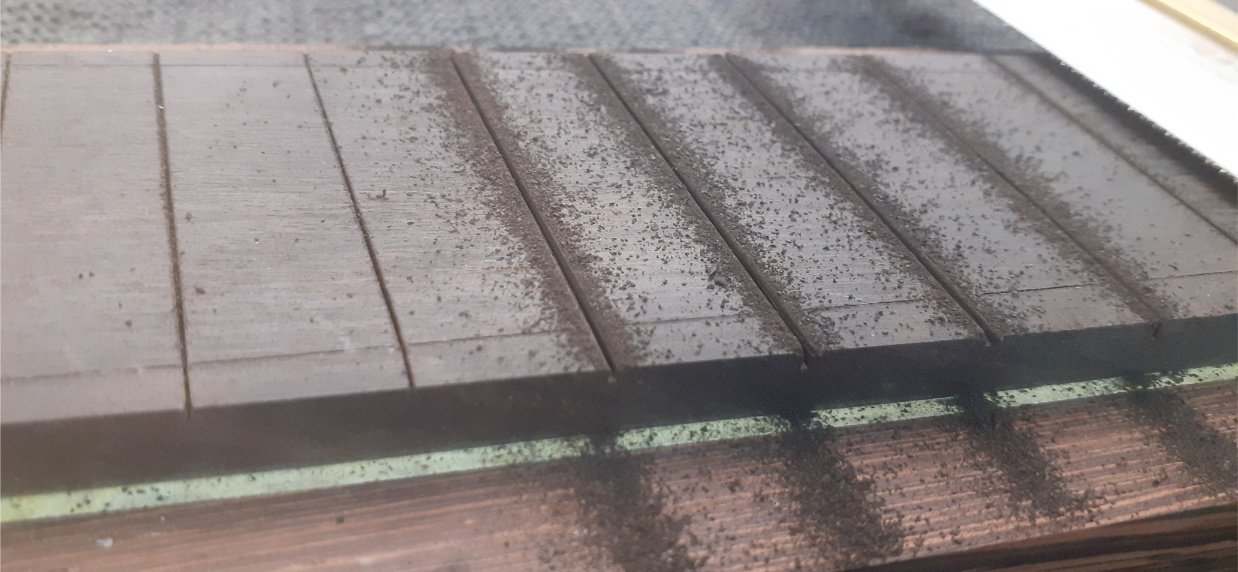
Sawing out the fret slots. Ebony dust is like soot. It stains everything and you don't want to breath it.
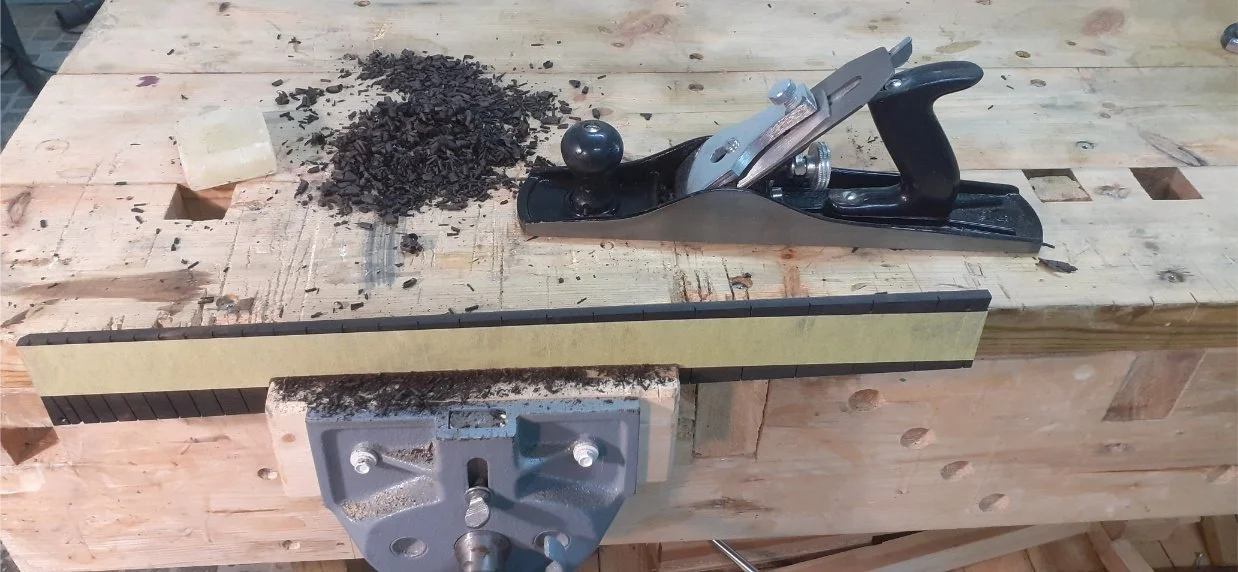
No.5 plane to bring the fingerboard down to the correct width.
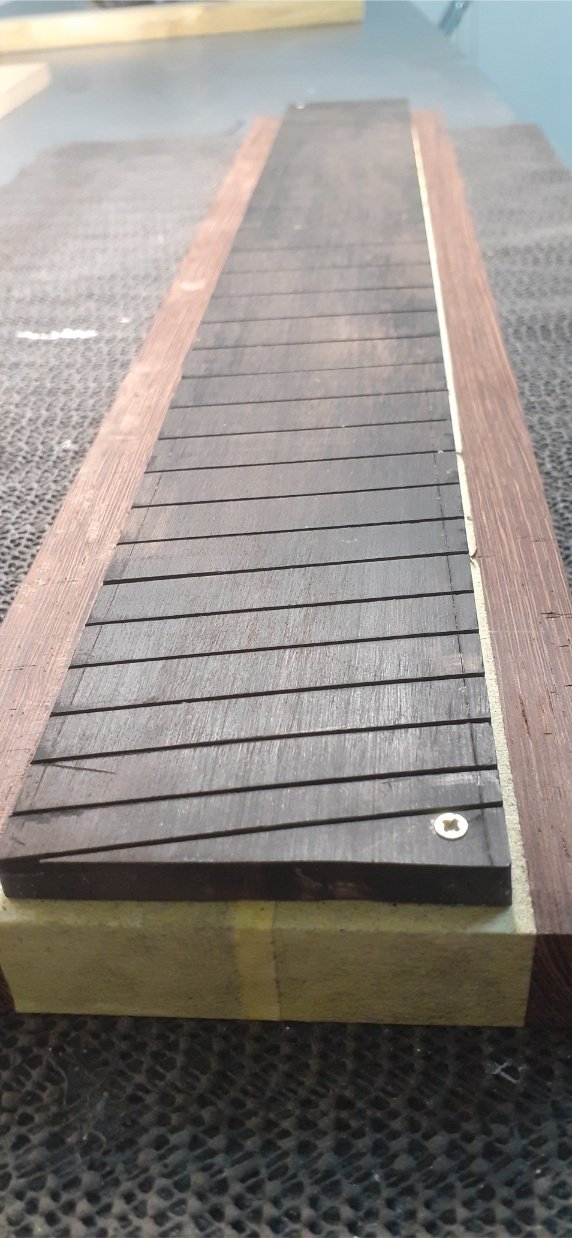
I drilled a couple of holes through the fingerboard, and into the neck blank to keep everthing centred during gluing. It was important that the center-line of the neck and the centre line of the fingerboard were aligned. These holes were placed on the ends of the fingerboard that would end up getting cut off.
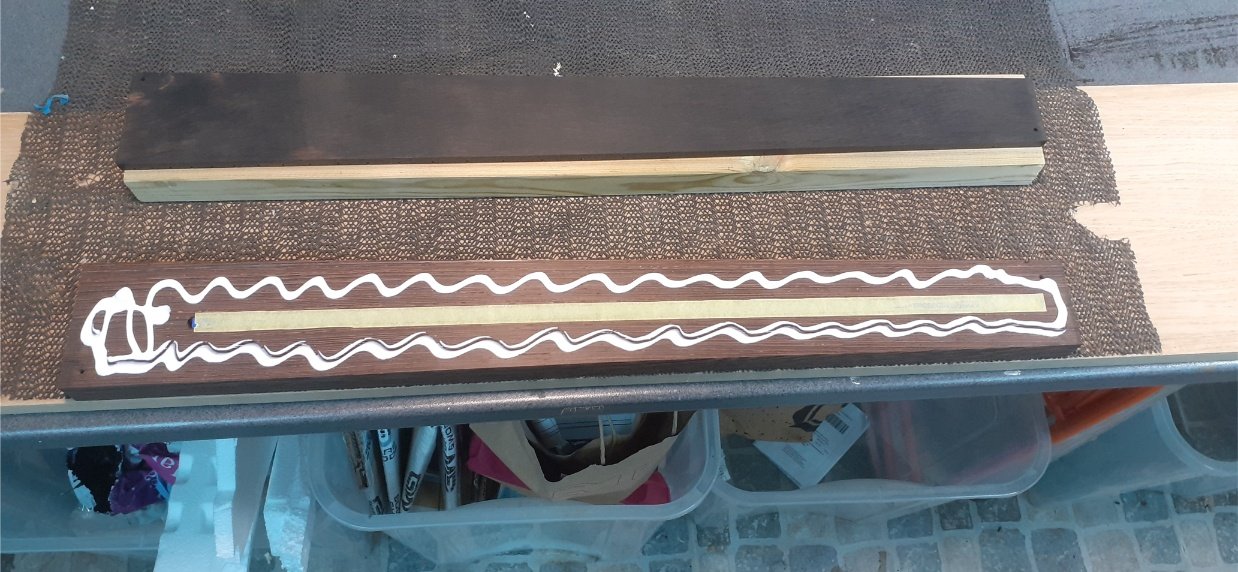
Gluing the fingerboard to the neck. The truss rod is covered with masking tape to stop glue fouling it.
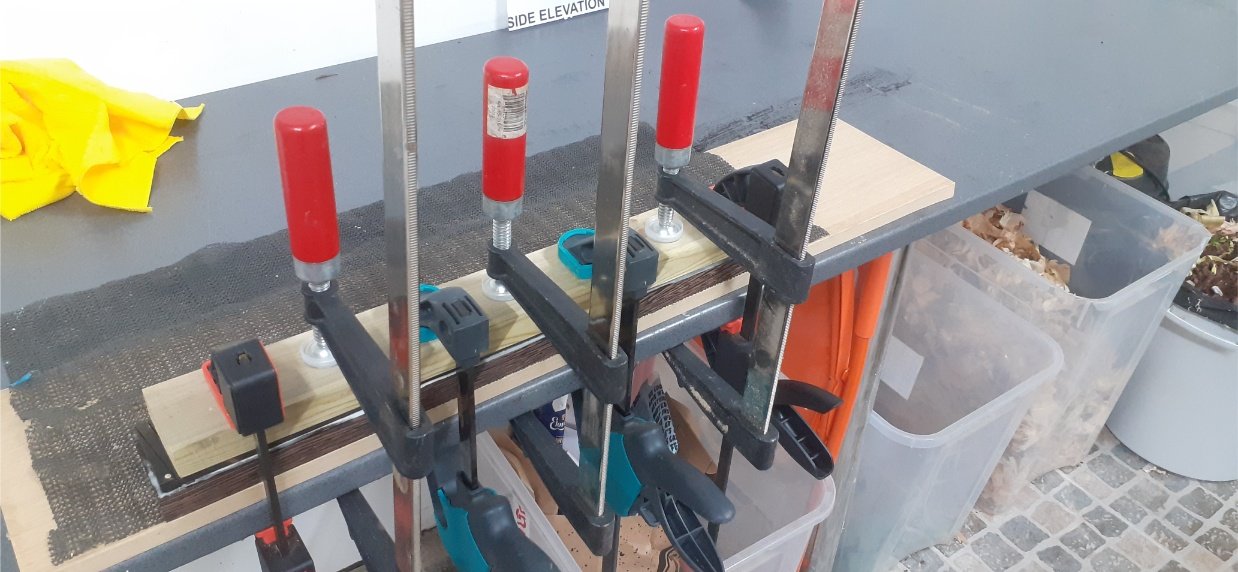
Lots of clamps during the glue-up.
...and the neck and fingerboard become one.
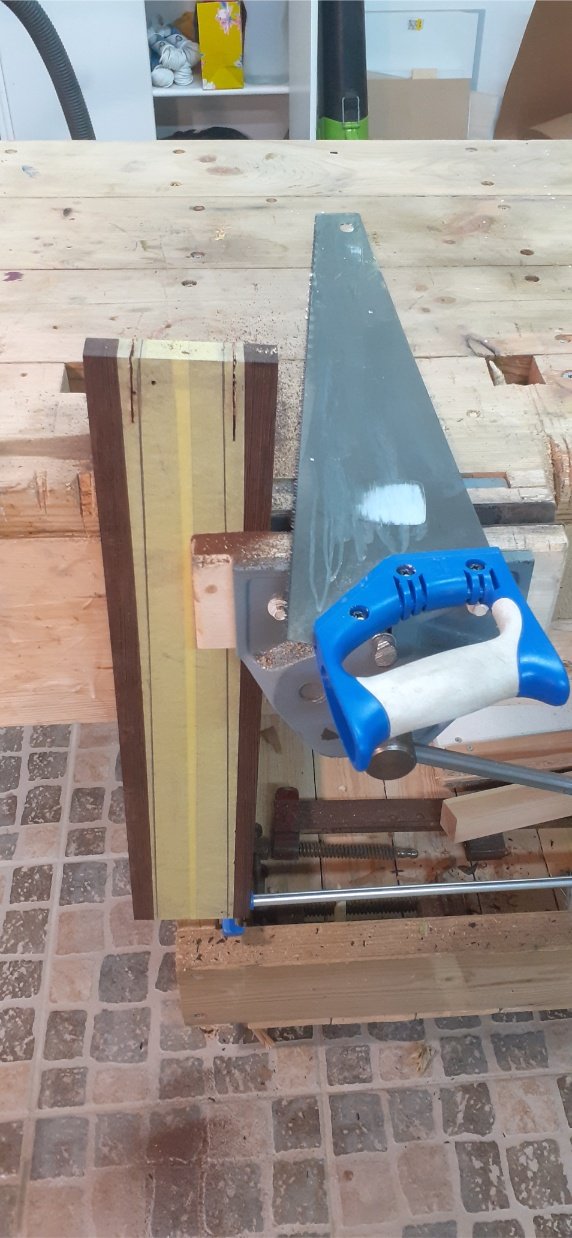
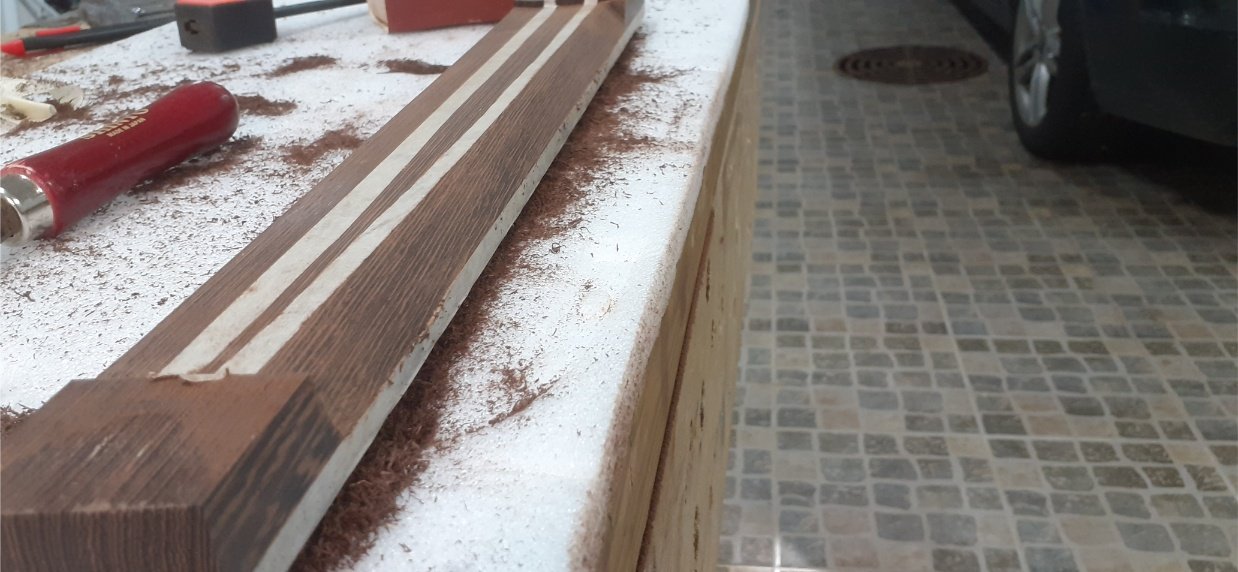
The excess width of the neck was sawn off. Wenge is horrible to work. It it rock hard, bluntens your tools, and splinters.
Using the fingerboard as a template, I used the router with a flush-cut bit to get it down to width.

Radiusing the fingerboard. I bought a 14inch radiused sanding block to which I attached sandpaper. This is the intial pass with 60 grit. The center has not been touched so I've got some way to go.
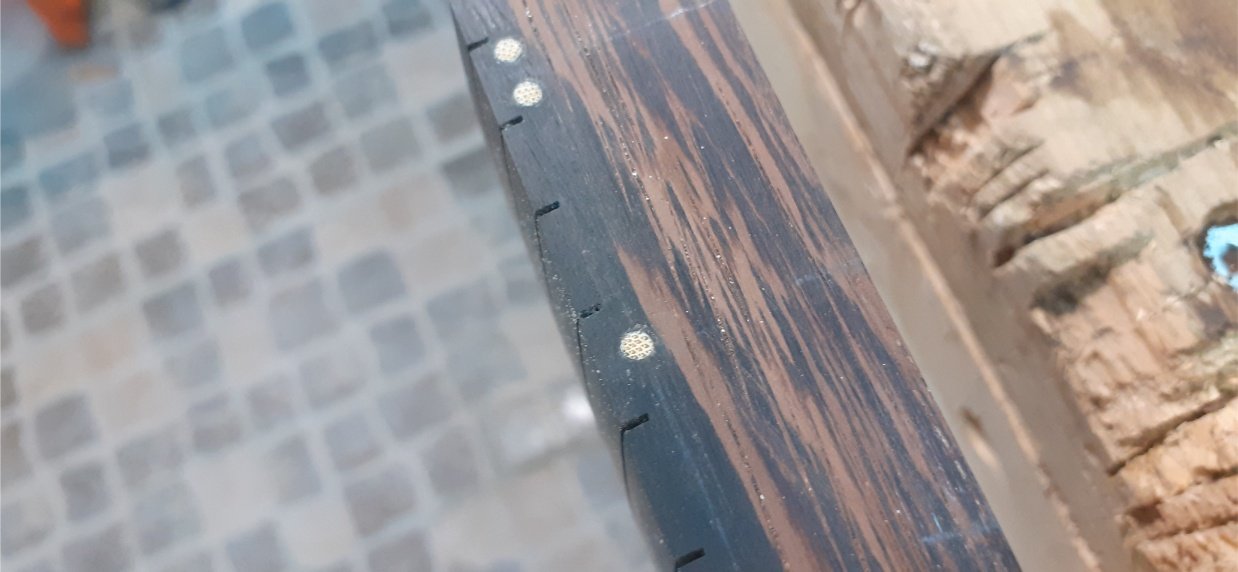
Marking out the positions for the side dots. Using a Lego square of course.
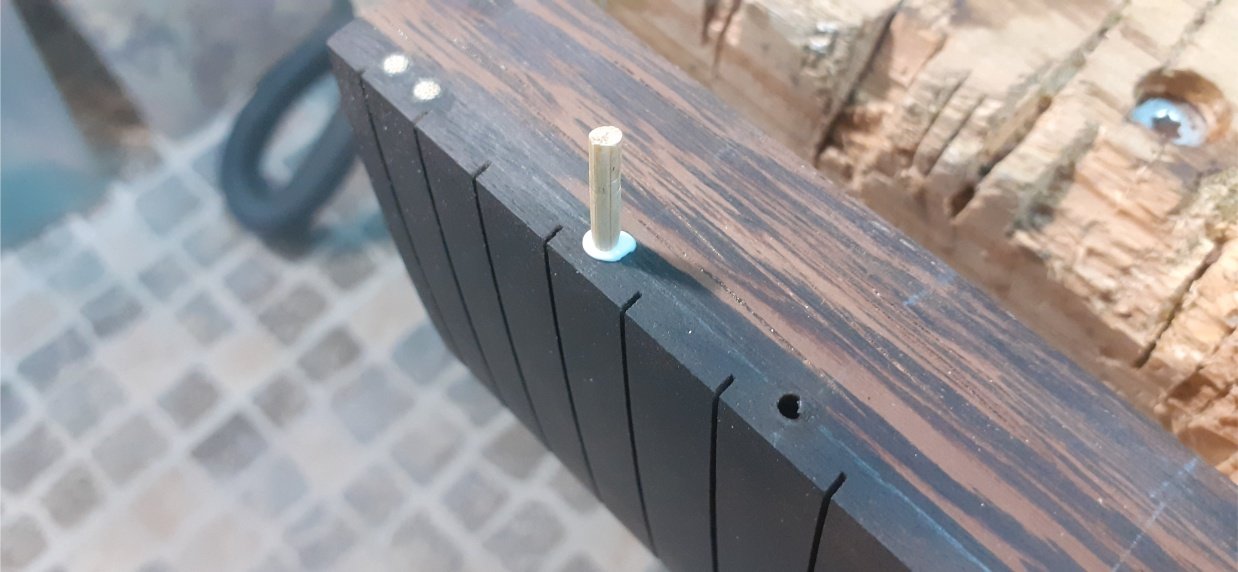
Gluing in the bamboo kebab stick side dots.
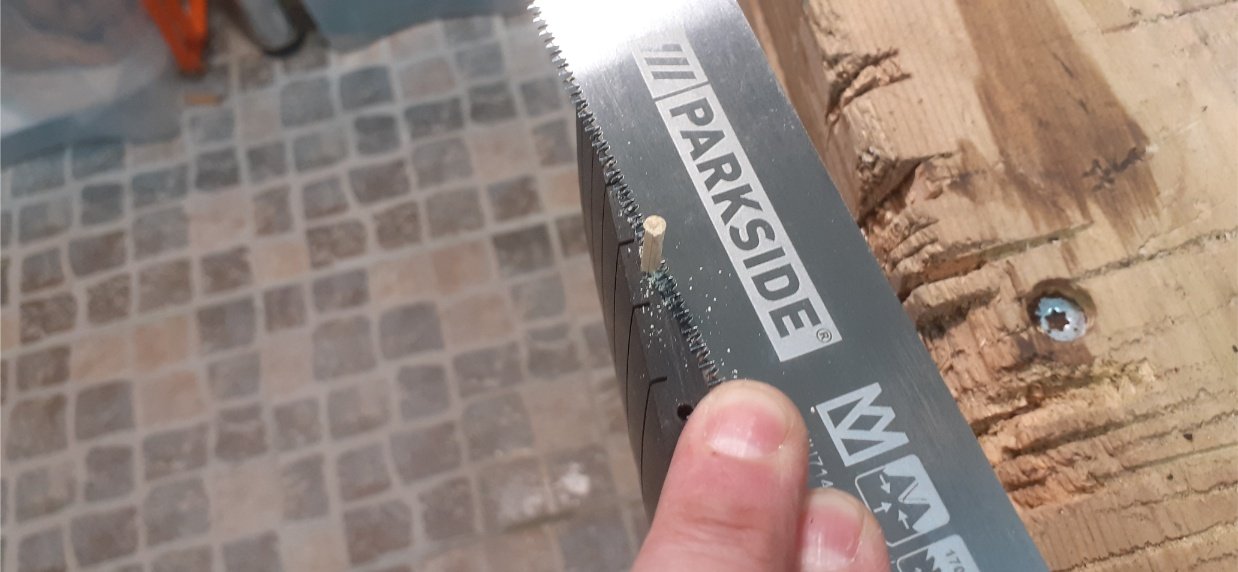
Trimming off the side dots with a flush-cut saw...
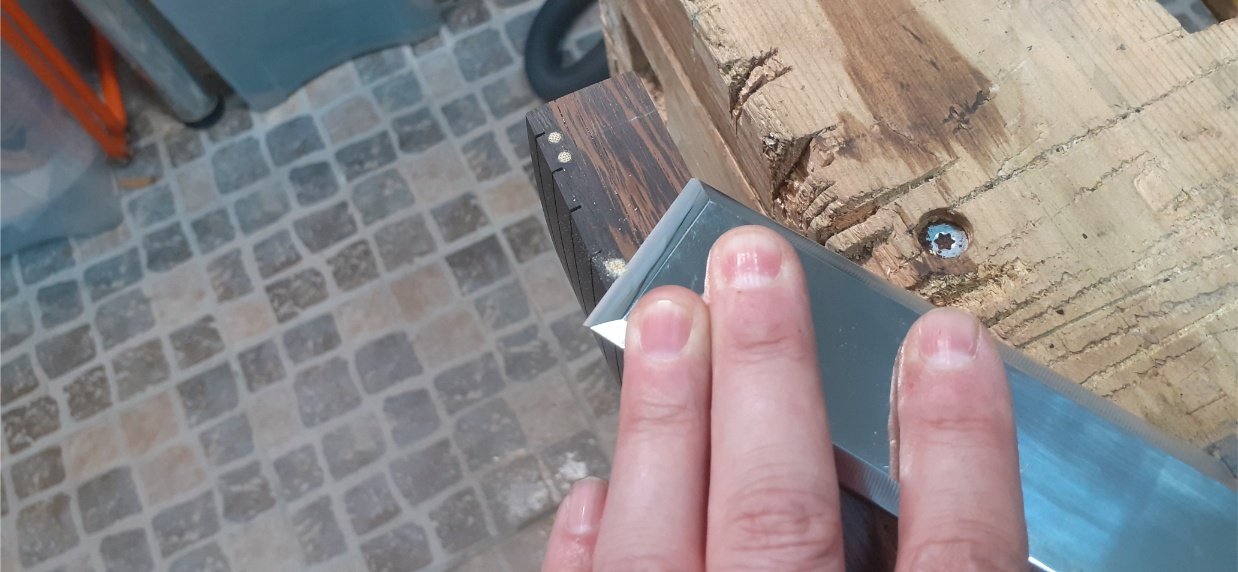
And paring level with a chisel...
...and sanded smooth.
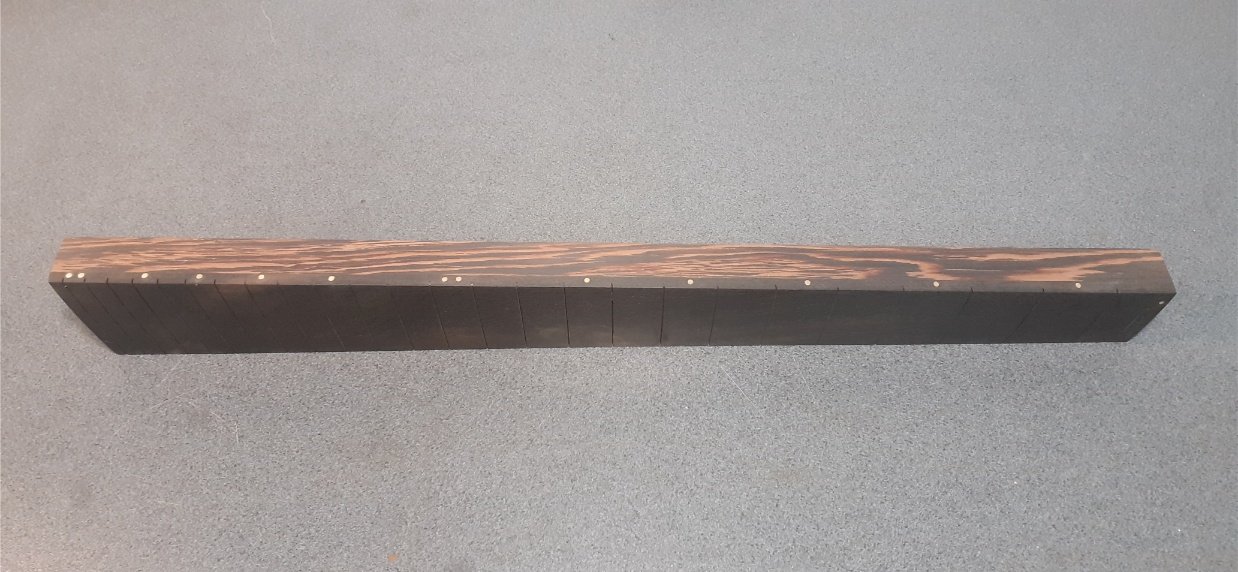
All the side dots installed.
Sawwing off the ends.
Improvised depth guide attached to the dovetail saw, to cut the fret slots to the right depth across the radiussed fretboard.
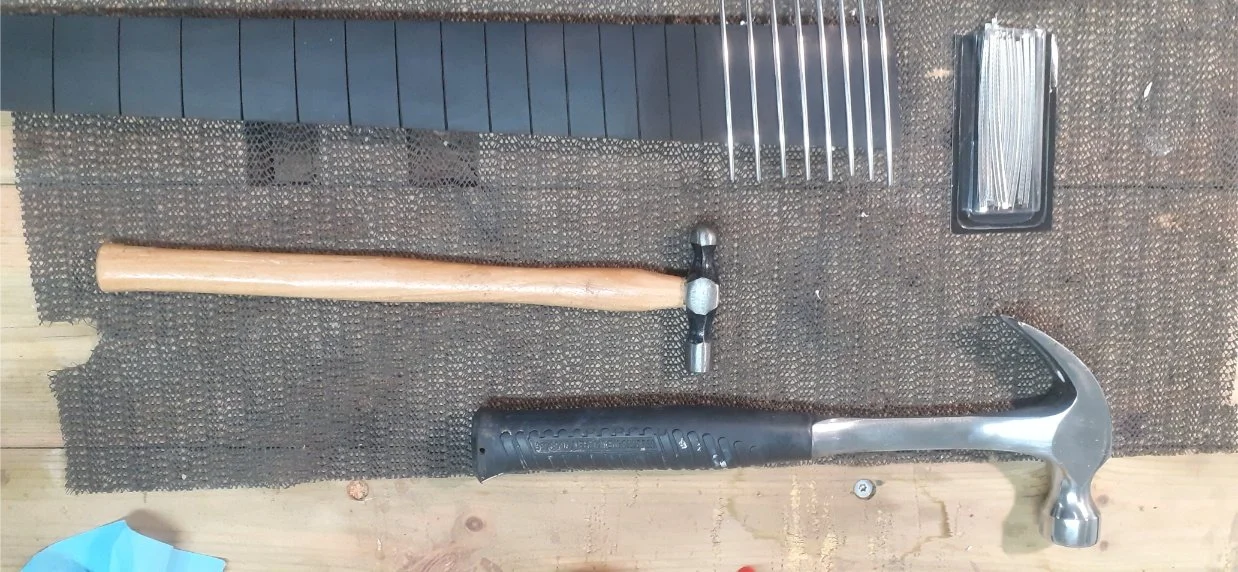
Installing the frets. This did not go well, but turned out good in the end, after lots of work. Next time, I will press the frets in with some sort of clamp, rather than hammering them in.

I cut the excess frets off with a dremel, then filed and sanded them smooth.
Taking a few milimeters off the thickness of the neck, but leaving the heel at full thickness.
Shaping the neck, using a shinto saw file.
I attempted a version of the Strandberg Endura neck profile, which has assymetric facets, rather than a uniform roundness. In hindsight, the assymetric shape does nothing, but I like the completely flat back, which encourages a correct thumb position.

The volute at the nut-end of the neck.
The rough shape of the neck. This was refined with increasingly fine grades of sandpaper until it was completely smooth.
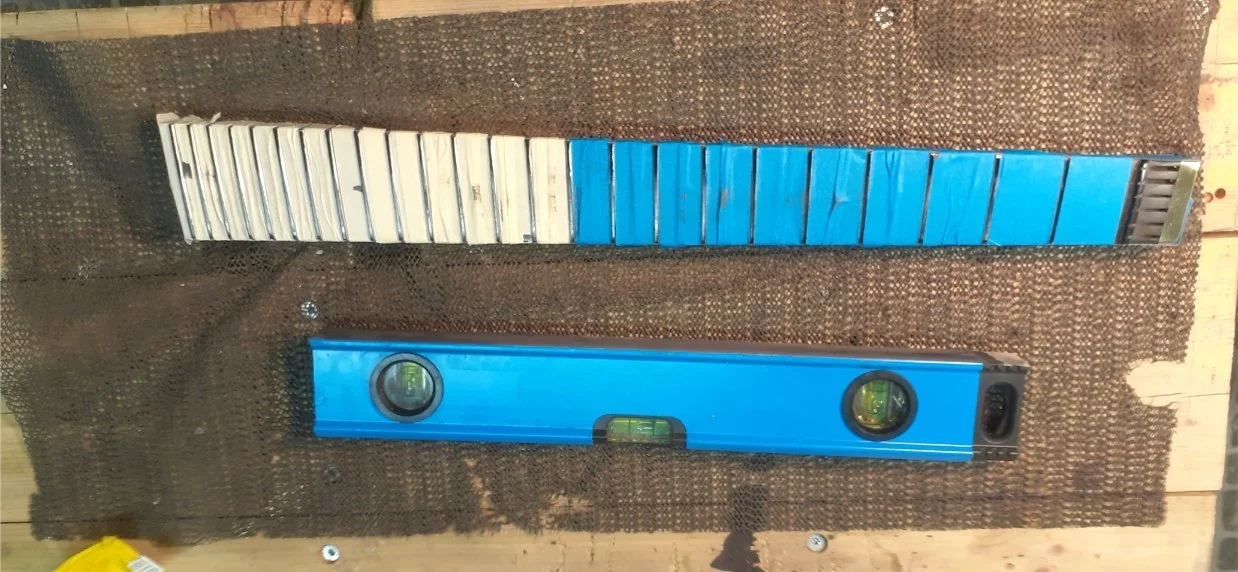
Fret levelling with sandpaper stuck to the bottom of a spirit level, which I reckoned was the closest thing to a levelling beam in my workshop. This was hard work, largely because I had done a poor job installing the frets so they needed a lot of levelling. Also, the frets are stainless steel, so much harder than normal nickel frets. I got there in the end however.
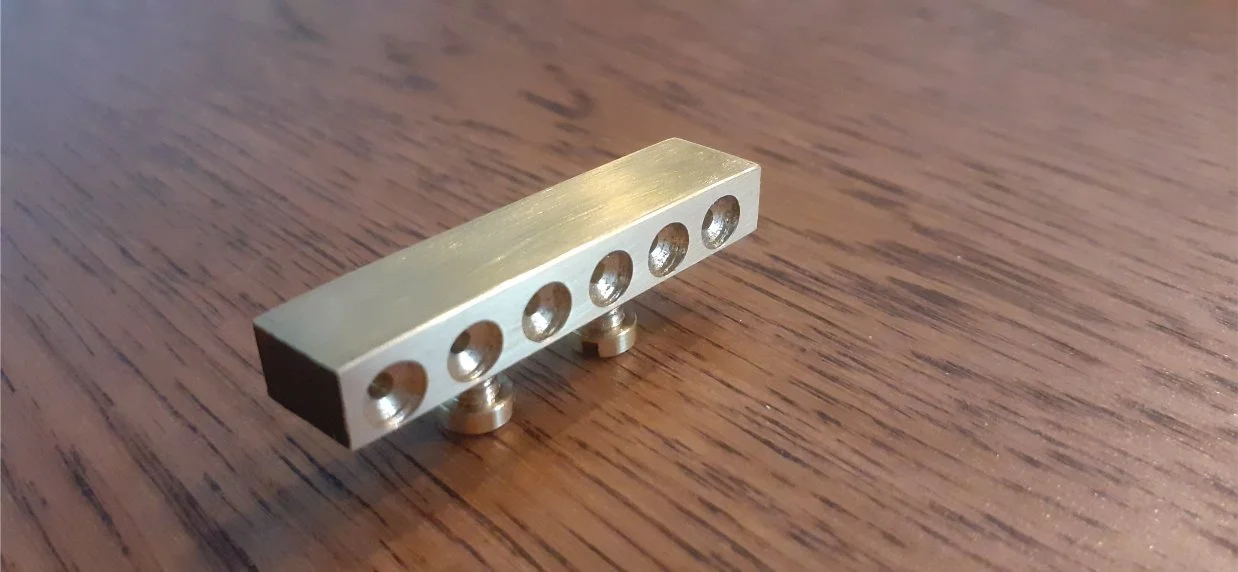
The string retainer. This was custom made by my brother. Thanks Alex! He made a video showing how me made this.
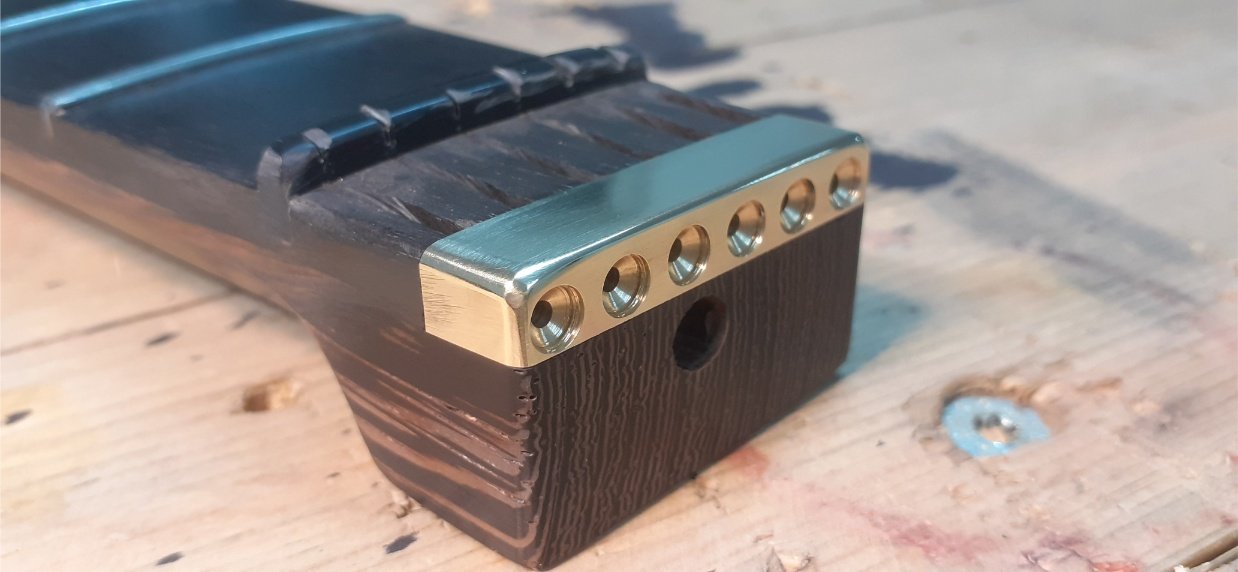
The string retainer installed, rounded and polished.